

 EN
EN  英语
英语 中文简体
中文简体 西班牙语
西班牙语 越南语
越南语 葡萄牙语
葡萄牙语 土耳其语
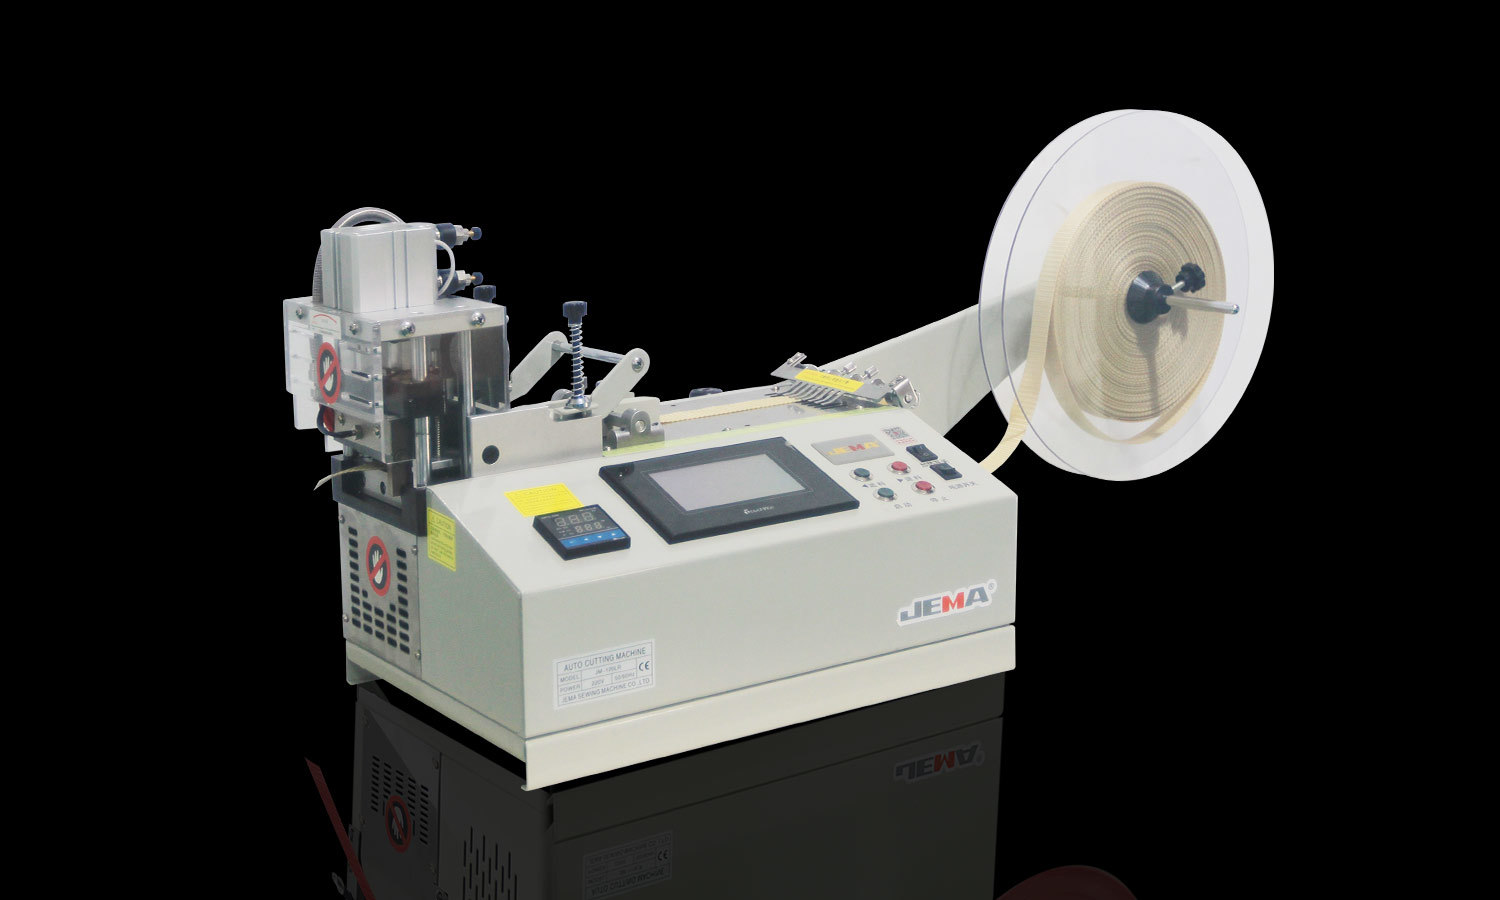
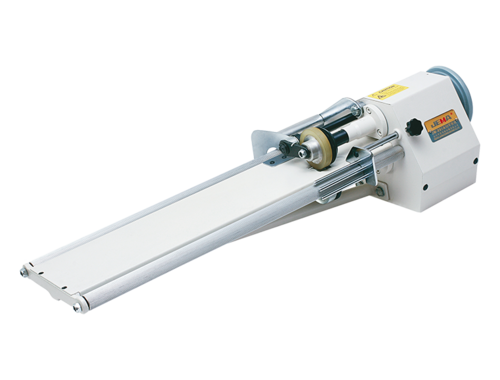
土耳其语Computer tape cutting machine (cold, hot infrared) JM-120HLR
The JM-120HLR Computer Tape Cutting Machine (Cold, Hot Knife and Infrared) gives you a bit more room...
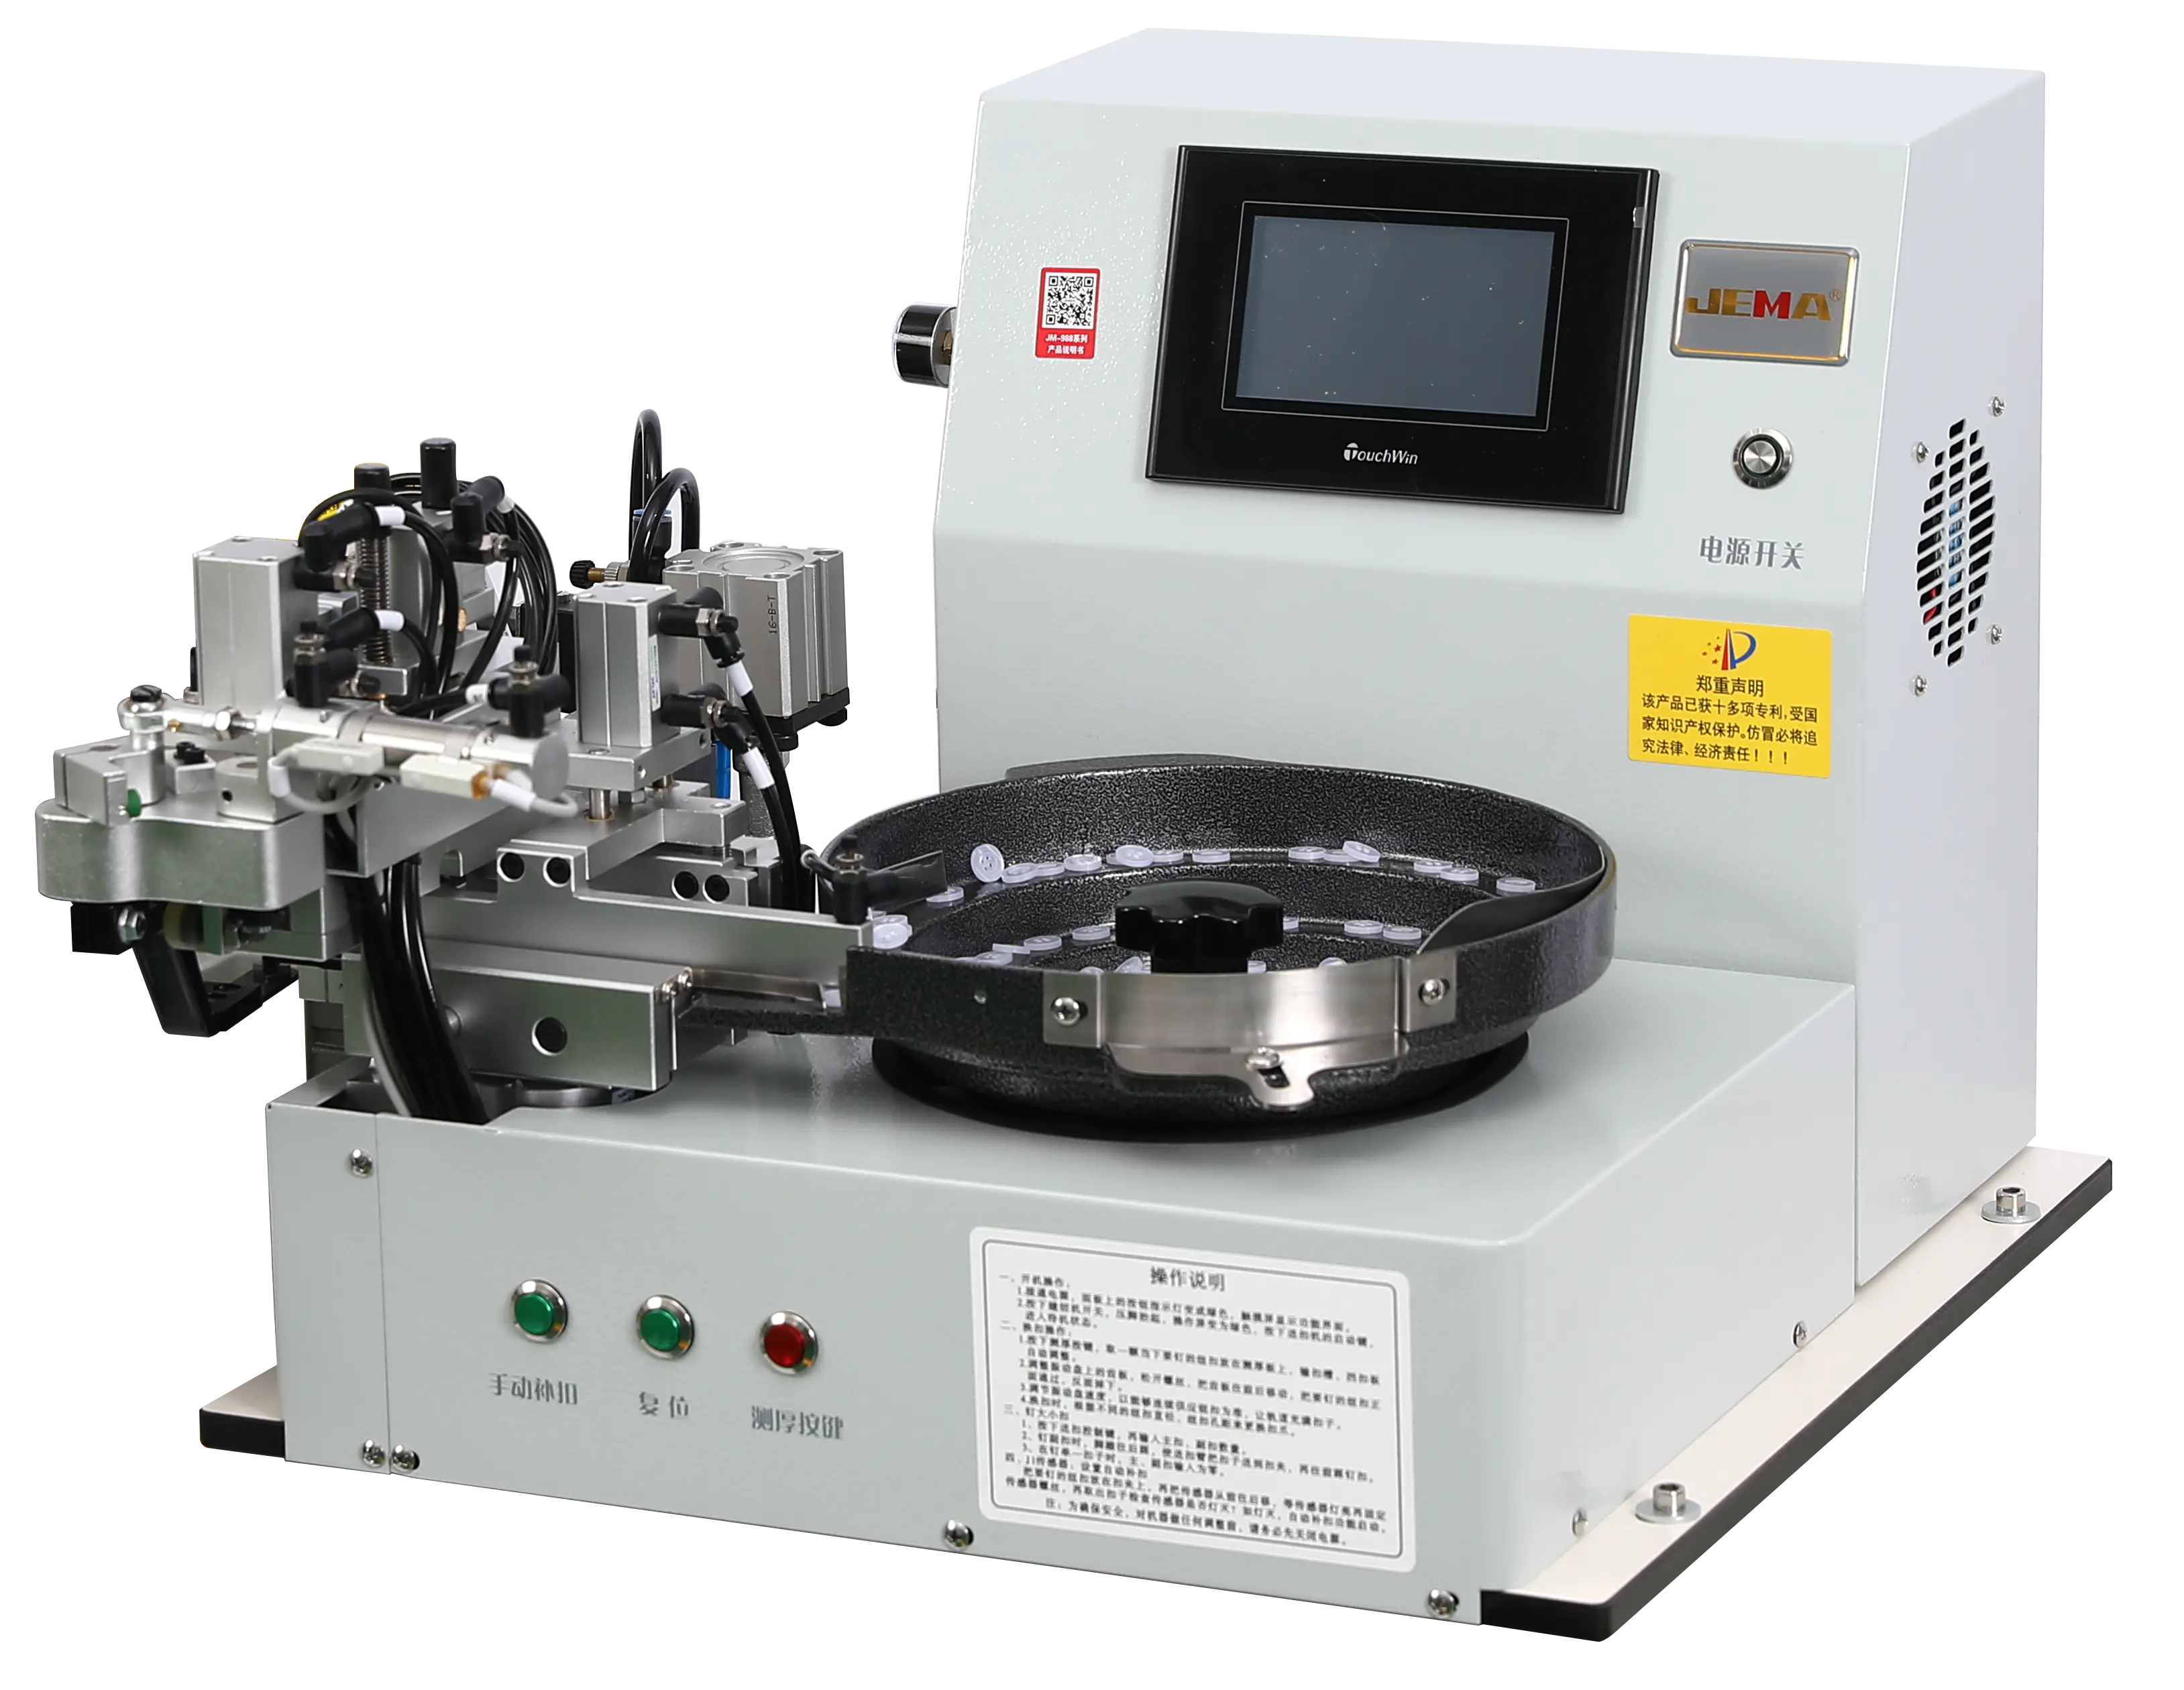
A button feeding process can appear straightforward when the machine is viewed from the outside. Inside the working area, however, several parts need to operate in a coordinated way. Material enters the feeding area, moves through the intended path, and then reaches the next stage of production. A small problem with the machine condition, material, or surrounding workspace can affect that process.
A pre-start check gives operators an opportunity to notice visible problems before normal feeding begins. The inspection does not need to be complicated. It mainly involves looking at the machine, checking accessible components, confirming the material condition, and making sure the operating area is suitable for work.
Starting a Button Feeder Machine should involve more than switching on the power. The condition of the machine before operation can influence how smoothly material moves through the feeding path.
A useful inspection begins with the surrounding area. Loose objects, leftover material, tools, or packaging can interfere with operation or make it harder to notice an abnormal condition. Keeping the area clear also gives operators enough room to observe the machine and reach the controls when needed.
The machine itself should then be viewed from the outside. Look for obvious signs of damage, loose parts, unusual gaps, or components that do not appear to be in their normal position. Any issue noticed during this stage should be checked before production continues.
The main areas can be considered in a simple order:
A pre-start inspection is also useful when the equipment has been idle for a period of time. Dust, leftover buttons, loose objects, or changes in component position may not be obvious during a quick startup. Looking over the machine before operation gives these conditions a chance to be noticed without the feeding process already in motion.
The space around the machine is part of the operating environment. Before starting, the floor and nearby surfaces should be free from objects that could interfere with movement or access.
Particular attention can be given to the areas around the feeding inlet and discharge outlet. Material left in these locations can restrict movement or become mixed with the next batch. Tools and other objects should also be kept away from moving sections.
The outside of the equipment can be checked for visible changes. Loose covers, damaged guards, cracked parts, or components that appear out of position deserve attention before the machine is switched on.
Protective parts should remain correctly installed. A guard or cover that has been removed for previous maintenance should not simply be left aside when normal operation resumes. Its position and condition should be checked as part of the startup process.
| Area | What to Check | Why It Matters |
|---|---|---|
| Work area | Loose objects and leftover material | Keeps access and observation clear |
| Feeding area | Blockages or material residue | Helps maintain a clear material path |
| Discharge area | Obstructions or mixed material | Reduces interference with outgoing buttons |
| Machine exterior | Damage or loose components | Helps identify visible problems before startup |
| Protective parts | Covers and guards in place | Keeps operating areas properly enclosed |
The inspection should also include the area where an operator normally stands. Controls need to remain accessible, while the operator should have enough space to observe the machine without having to reach across moving components.
A clean working area does not replace mechanical or electrical inspection. It simply creates a suitable starting condition for the checks that follow.
The feeding section has direct contact with the buttons, so its condition can affect the movement of material. Before operation, the hopper, feeding path, and accessible contact surfaces should be checked for residue or foreign objects.
Small pieces of leftover material can sometimes remain after an earlier production run. If they are mixed with another batch, they may affect the feeding process or make it harder to identify where a problem originates.
The feeding path should also be visually inspected for anything that appears loose, damaged, or out of position. Components that guide or move buttons need to remain in their intended position. If a part appears different from its normal condition, the machine should remain stopped until the reason is clear.
Material compatibility also starts at the feeding section. Buttons can vary in size, shape, thickness, edge form, and surface condition. A feeding arrangement that handles one type of button may not behave in the same way with another.
For this reason, the material should be considered together with the feeding path. Useful checks include:
A heavily mixed batch can create another issue. Buttons with noticeably different shapes or sizes may move through the same path in different ways. Preparing the material before it enters the machine can therefore reduce avoidable feeding interruptions.
The condition of the feeding parts also connects with later sorting. When material reaches a Button Sorting Machine, irregular feeding can make the sorting process harder to control. Checking the feeding path provides a more stable starting point for the equipment that follows.
Electrical checks should be carried out before the machine begins normal movement. The power connection, cable, plug, switch, and accessible control components should be checked for visible damage or unusual conditions.
A cable with damaged insulation, a loose connection, or a control component that does not appear to operate normally should not be ignored. The machine should remain off while the cause is checked by an appropriate person.
The area around electrical connections should also remain dry and free from unnecessary objects. Moisture or contamination around electrical components can create additional concerns during operation.
Controls deserve a quick visual check before startup. The main switch should be in the expected position, while emergency stopping equipment should be accessible and free from obstruction. Operators should also know which control is used to stop the machine when an abnormal situation occurs.
Electrical inspection can be kept separate from mechanical inspection because the two involve different conditions. Looking at a cable does not confirm that a moving component is secure, just as checking a feeding mechanism does not confirm that the power connection is suitable.
A practical pre-start sequence is therefore:
Power connection → Control condition → Emergency stop access → Machine exterior → Feeding area
The purpose is not to test or repair electrical components during normal startup. Visible problems should be identified before operation, with further inspection handled according to the equipment's maintenance procedures.
Mechanical condition becomes important once the machine is ready to move. Before starting, accessible feeding mechanisms, transmission areas, and other moving components should be checked for obvious signs of looseness, obstruction, or damage.
A part that has shifted from its normal position may affect material movement. Likewise, a foreign object near a moving section can create resistance when the machine starts.
Operators should not place hands into a moving area to check whether a component is free. Any adjustment, cleaning, or removal of trapped material should take place with the equipment stopped and in a suitable safe condition.
Attention can be given to the following areas:
Mechanical checks also connect with the condition of the feeding path. A clean hopper cannot compensate for a loose or obstructed moving part. Both areas need to be in suitable condition before material is introduced.
Once the surrounding workspace, feeding section, electrical connections, and accessible mechanical areas have been checked, attention can move toward the material itself. The next stage is not simply loading buttons into the machine; their condition and compatibility with the feeding process also need to be considered.
Once the machine itself has been inspected, attention can turn to the buttons waiting to enter the feeding process. Material condition can affect movement, separation, and the way buttons reach the next stage.
Buttons should be checked for obvious foreign objects, damaged pieces, or unwanted mixing. Different shapes and sizes may move through a feeding path in different ways. A batch containing several product types can therefore create irregular movement even when the equipment itself is in normal condition.
Surface condition can also matter. Dust, loose fragments, or other residue may collect along the feeding path or affect how individual buttons move against nearby surfaces.
Before loading material, it is useful to check:
The amount of material placed into the feeding area should also suit the operating conditions. An excessive pile can make movement less predictable, while insufficient material may interrupt the process unnecessarily.
Material preparation is closely connected with the next stage of handling. When buttons are intended to enter a Button Sorting Machine, their condition and feeding direction can affect how smoothly they reach the sorting area.
When feeding equipment works together with a Button Sorting Machine, the connection between the two stages deserves a separate check. A problem does not always begin inside the sorting equipment. It can also come from uneven feeding, a blocked transfer path, or an unsuitable drop position.
The outlet of the feeding machine should align with the receiving area of the sorting equipment. Buttons should have a clear route from one stage to the next, without unnecessary obstacles or accumulation.
Connection points should also be checked for loose components or displaced parts. If a transfer section has been changed during cleaning or maintenance, its position should be confirmed before normal operation resumes.
A simple check can focus on:
The two machines also need to work at a suitable pace. If buttons leave the feeder faster than the following equipment can handle them, material may accumulate. If feeding is too slow, the sorting process may become irregular.
For this reason, the interface between the two machines should be considered part of the pre-start inspection rather than treated as a separate issue.
After the machine and material have been checked, a short empty run can provide another opportunity to observe the equipment before buttons enter the feeding path.
Starting without material allows attention to remain on the machine itself. Operators can watch the movement of accessible parts, listen for unusual sounds, and check whether the equipment behaves in the expected manner.
An empty run can help reveal conditions such as:
If something appears abnormal, adding material immediately can make the situation harder to identify. Stopping the machine and checking the cause keeps the material out of the process while the issue is being assessed.
The empty run should not be treated as a replacement for inspection. It works as another stage between the visual checks and actual material feeding. The machine is observed under operating conditions, while the feeding path remains clear.
Once the equipment operates normally without material, the next step can involve introducing buttons gradually and observing their movement.
The beginning of material feeding deserves attention because conditions can change once buttons enter the machine. A feeding path that appears clear while empty may behave differently when material is introduced.
Operators can watch how buttons enter the feeding area, move along the intended route, and leave toward the next stage. Accumulation, irregular movement, blockage, or unexpected changes in direction can indicate that the material or equipment needs attention.
The connection with the Button Sorting Machine should also be observed. Buttons should move toward the receiving area without creating a pile that interferes with the following process.
Useful observations include:
If an abnormal condition appears, the machine should be stopped before attempting to clear the problem. Reaching into a moving feeding area to remove a trapped button can create unnecessary risk.
The same principle applies to material that appears to be moving in an unusual direction. Rather than forcing the material through, the equipment should be stopped and inspected under suitable conditions.
After the initial feeding stage has been observed, the operating condition can be checked once more. The surrounding area should remain clear, the feeding path should remain open, and the discharge area should not show unusual accumulation.
Operators should also be familiar with the normal stopping procedure and know how to respond when the machine behaves differently from expected. A problem that has already been noticed should not be left unresolved simply because the equipment continues to run.
Routine checks can become easier when the same basic points are reviewed each time:
A Button Feeder Machine is part of a material-handling process rather than an isolated piece of equipment. Its condition, the buttons being fed, and the equipment receiving those buttons all influence the working process. Checking each stage before and during startup gives operators a clearer view of how the complete line is functioning and provides an opportunity to stop when an abnormal condition appears.
.png?imageView2/2/w/500/h/500/format/jp2/q/100 "Computer tape cutting machine (cold, hot infrared) JM-120HLR")
The JM-120HLR Computer Tape Cutting Machine (Cold, Hot Knife and Infrared) gives you a bit more room...
.png?imageView2/2/w/500/h/500/format/jp2/q/100 "Multifunctional computer tape cutting machine (corner) JM-150HX")
Fully automatic cutting, simple operation, wide application range, high cutting quality, smooth c...
special function: This sturdy machine is completely used for the manufacture of braided belts....
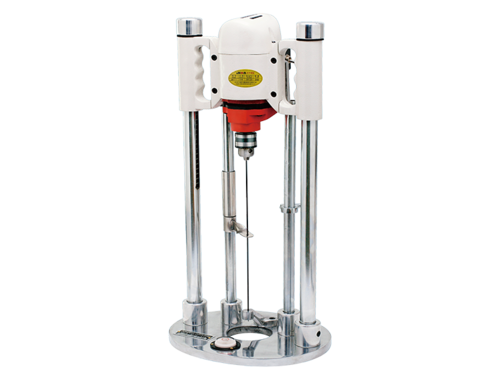
Features This machine is one of the indispensable special equipments in garment production. It...

25 Years specializing in the production of various cutting machines.
©2021 Taizhou JEMA Sewing Machine Co., Ltd. Custom Elastic Tape Cutting Machine Manufacturers


 +86-576-88177528
 +86-576-88172167
 367# Guangxing Road, Xiachen Street, Jiaojiang District, Taizhou City, China.