

 EN
EN  英语
英语 中文简体
中文简体 西班牙语
西班牙语 越南语
越南语 葡萄牙语
葡萄牙语 土耳其语
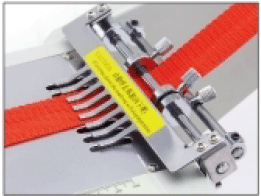
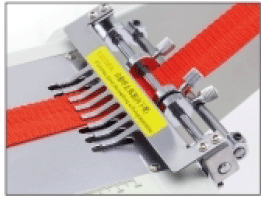
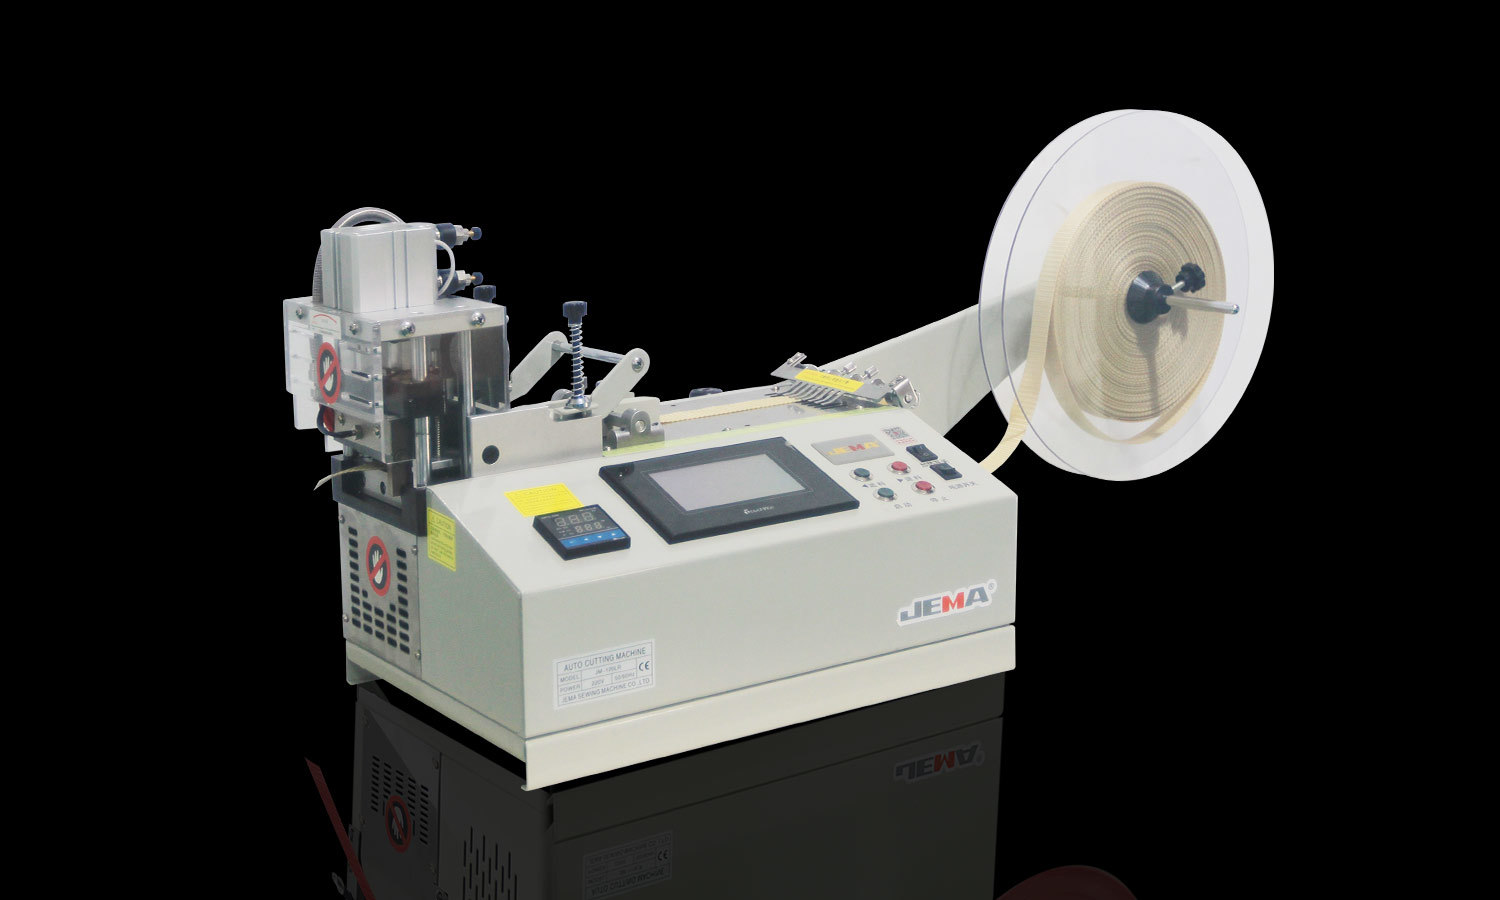
土耳其语Computer tape cutting machine hot cutting knife (corner) JM-120HX
Fully automatic cutting, simple operation, wide application range, high cutting quality, cold and...
Continuous button sewing depends on more than the movement of a sewing needle. A steady supply of correctly positioned buttons has to reach the sewing area at the right stage of the sewing cycle. Without that coordination, the sewing machine may finish one button while the next one is still moving through the feeding path, creating a pause in the workflow.
A Button Feeder Machine normally handles several connected tasks. Loose buttons are collected, arranged, guided and delivered toward the sewing position. Automatic feeding systems commonly use a sorting section followed by a feeding path, allowing buttons to move from a loose supply into a position suitable for attachment.
Synchronization therefore concerns timing rather than simply feeding speed. A feeder that moves buttons too quickly can create congestion near the delivery point, while a slow supply may leave the sewing mechanism waiting for the next button.
A practical production sequence can be viewed as:
Button supply → Sorting → Orientation → Feeding → Positioning → Sewing → Next button
Each stage has to leave enough room for the following movement. Once the sewing cycle finishes, another prepared button should already be available or moving into position, depending on the machine arrangement.
Loose buttons rarely enter a feeder in a consistent direction. Some may face upward, others may turn over, while a few can arrive at an angle that does not suit the sewing position. Feeding equipment therefore needs to organize the buttons before they reach the sewing area.
A common arrangement uses a bowl or hopper where buttons are moved along a guided path. Vibration can help shift buttons gradually toward an outlet while sorting features separate pieces according to their position and orientation. Manufacturer manuals describe vibrating bowls that arrange button faces and guide suitable pieces toward a delivery path.
Once a button reaches the correct path, its movement becomes more controlled. Guides can limit sideways movement, while mechanical parts or air‑assisted movement can carry the button toward the sewing position.
Different button shapes can change the feeding process. Flat buttons with several holes may require one type of positioning method, while shank buttons have a different structure and need another path arrangement. A feeder designed for one button style may therefore require adjustment before another style can run smoothly.
Good preparation reduces the amount of correction required near the needle. Rather than asking the sewing machine to deal with an incorrectly oriented button, the feeding stage handles much of the preparation earlier in the process.
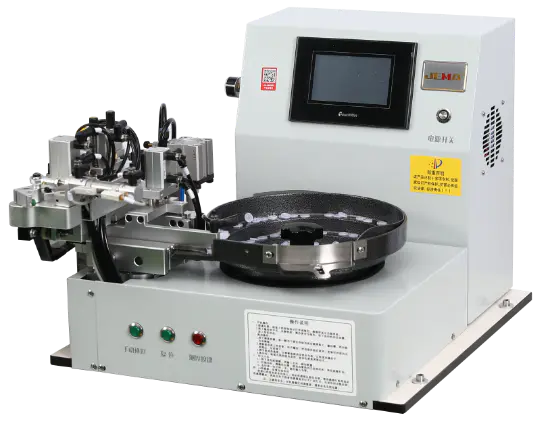
A Button Sorting Machine works as an important part of the preparation stage. Its role is not simply to move buttons forward. Sorting separates usable orientations from pieces that do not meet the feeding requirements.
Imagine a group of buttons entering the machine in mixed positions. Some may have the correct face upward, while others may be upside down or standing at an unsuitable angle. A sorting path can guide acceptable pieces onward and return or redirect unsuitable ones.
Mechanical sorting arrangements may use gaps, guides, plates or other structures to encourage buttons into a selected orientation. Such arrangements are adjusted according to button shape and size.
Once sorting has been completed, the feeder receives a more orderly flow. Less variation at the entrance to the feeding path makes it easier to maintain a steady sequence.
| Stage | Main Task | Effect on Sewing |
|---|---|---|
| Supply | Holds Loose Buttons | Provides Material for Feeding |
| Sorting | Separates Incorrect Positions | Reduces Orientation Problems |
| Guiding | Controls Button Movement | Creates an Orderly Flow |
| Positioning | Places Button for Attachment | Supports Needle Alignment |
| Sewing | Attaches Button to Fabric | Completes the Cycle |
A sorting unit and feeder therefore work as connected stages rather than isolated machines. Proper sorting makes the later feeding movement easier to control.
Synchronization becomes more visible when the sewing machine begins its repeated operating cycle. Once one button has been attached, another button needs to arrive without interfering with the movement of the clamp, needle or fabric.
Automatic button‑feeding systems can operate in coordination with button sewing machines, with feeding modes designed around the sewing process. Some systems can continuously feed buttons, while other arrangements allow manual or limited‑batch operation when production requirements change.
A typical sequence may work like this:
Timing between steps matters. Feeding should not occur while a moving component occupies the same space. At the same time, excessive delay between sewing and feeding can interrupt the rhythm of continuous operation.
Control signals can help coordinate movement. A sensor may indicate whether a button has reached a certain position, while another control action can prevent additional feeding when the receiving area is already occupied.
Synchronization is therefore better viewed as a chain of small actions rather than one single command. Each movement needs to occur at an appropriate moment so that the next stage can begin without obstruction.
Once a button has passed through sorting and feeding, accurate positioning becomes the next concern. A sewing machine needs the button to arrive in a predictable place so that its holes line up with the intended needle movement. Even a small change in position can affect how the needle enters the button.
A Button Feeder Machine usually guides each piece toward a holding area before sewing begins. Mechanical guides, clamps or feeding plates can control the button during the final movement. Some automatic systems use a horizontal feeding arrangement to place a prepared button into the sewing position.
Positioning can be affected by several conditions:
Correct positioning also depends on the relationship between button holes and the sewing pattern. A four‑hole button, for example, needs a different movement pattern from a two‑hole button. For buttons with unusual shapes, the feeding path may require additional adjustment.
A useful way to view the process is sorting for direction, feeding for movement, positioning for accuracy, and sewing for attachment. Each stage has a separate task, although one stage can influence the next.
A continuous sewing process can become interrupted when button delivery does not match the sewing cycle. One common situation occurs when the sewing machine completes its current operation while no prepared button is available at the feeding point.
Another problem can occur when buttons arrive too early. Several pieces may collect near the receiving area, increasing the chance of blockage or incorrect positioning. A feeder therefore needs to control the release of buttons rather than simply move as many pieces as possible toward the sewing machine.
Manufacturers of automatic button‑feeding systems commonly provide different operating modes, including automatic feeding, manual operation and arrangements for smaller production runs. Such options allow feeding behavior to be changed according to the working situation.
Common signs of a feeding problem include:
When an interruption occurs, checking the entire feeding path is more useful than focusing only on the sewing head. Sorting, guiding, delivery and positioning all form part of the same sequence.
Cleaning also matters. Small pieces of thread, fabric dust or button fragments can collect along narrow feeding paths, gradually changing how freely buttons move. Regular inspection can help identify such conditions before they develop into repeated interruptions.
Automatic feeding relies on communication between movement and control. A button feeder needs to know when a button has reached a suitable position, while the sewing machine needs to avoid starting a feeding action at an unsuitable moment.
Some integrated systems connect the sewing machine and feeder so that one completed sewing cycle can trigger preparation of the next button. Operating instructions for automatic button‑feeding systems describe a sequence in which sewing is completed, thread handling takes place, and the feeder then supplies the next button.
Sensors can support such coordination by detecting whether a button is present or whether a feeding position is available. A control signal can then allow, delay or stop another feeding movement.
| Operating Condition | Feeder Response | Sewing Response |
|---|---|---|
| Button Ready | Holds Button in Position | Starts Sewing Cycle |
| Sewing in Progress | Waits for Permission | Completes Button Attachment |
| Button Missing | Continues Preparation or Waits | Delays Next Cycle |
| Feeding Blocked | Stops or Signals an Issue | Prevents Unplanned Operation |
| Cycle Completed | Supplies Next Button | Prepares for Next Attachment |
Control logic also needs to handle unexpected interruptions. A machine that has stopped because of a jam should not continue feeding buttons into an occupied area. Automatic systems may use alarms or protective controls to signal a problem and help prevent unwanted movement.
During setup changes, operators may also need to switch from automatic feeding to manual operation. Such flexibility can be useful when changing button types, checking alignment or handling a smaller production task.
Stable feeding starts with suitable button preparation. Buttons that vary significantly in shape, thickness or surface condition can move differently through the sorting and feeding path. Matching the feeder setup to the button being used helps reduce unnecessary interruptions.
Regular inspection should cover the complete route from supply area to sewing position. A quick check can include the following:
Adjustment is another part of continuous operation. Changing button size or shape may require changes to guides, holding parts or sorting settings. A setup that works for one button type should not automatically be transferred to another.
The relationship among the three main stages can be kept simple:
Button Sorting Machine → Button Feeder Machine → Sewing Machine
Sorting prepares the button, feeding moves it forward, and sewing completes the attachment. When timing between stages remains coordinated, the operator does not need to manually place every button before each sewing cycle.
Continuous operation therefore depends on cooperation rather than feeding speed alone. A properly arranged workflow gives each button enough time to move from loose supply to sorting, then through guided feeding and positioning before the sewing machine begins its next attachment cycle.
.png?imageView2/2/w/500/h/500/format/jp2/q/100 "Computer tape cutting machine hot cutting knife (corner) JM-120HX")
Fully automatic cutting, simple operation, wide application range, high cutting quality, cold and...
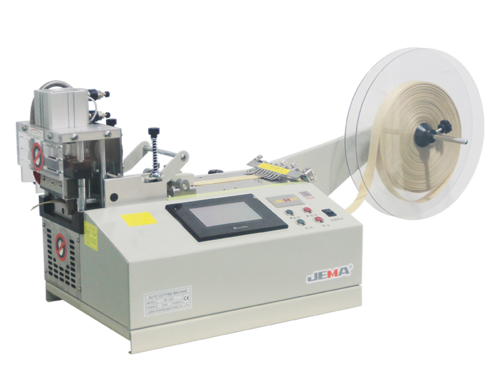
The JM-120L Computer Tape Cutting Machine (Cold Knife) is built for those repeat cutting jobs that c...
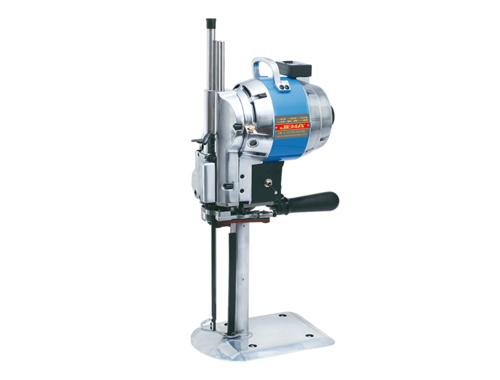
Features The JM-3D/3/103 electric cutting machine is compatible with KMCK8-EU Eastman Ele...
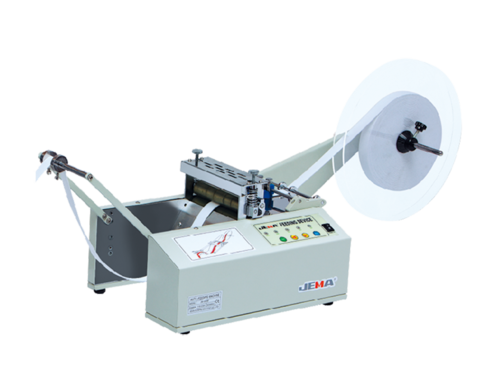
Features The fully automatic computerized belt feeder is a new type of multifunctional belt fe...

25 Years specializing in the production of various cutting machines.
©2021 Taizhou JEMA Sewing Machine Co., Ltd. Custom Elastic Tape Cutting Machine Manufacturers


 +86-576-88177528
 +86-576-88172167
 367# Guangxing Road, Xiachen Street, Jiaojiang District, Taizhou City, China.